AI-Powered Character Design – From Prompt to Playable in Unity

A Unity game editor showing an AI-generated character beside a prompt window, with a side panel of blendshapes, materials, and animation tools glowing in a stylized tech UI.

In 2025, game developers are no longer sculpting every vertex or rigging every joint manually. Thanks to the rise of AI-powered character design tools, you can now generate, rig, animate, and import characters into Unity — all from a single prompt.

This isn’t concept art anymore. It’s production-ready characters that can walk, talk, and wield weapons inside your real-time game scene.


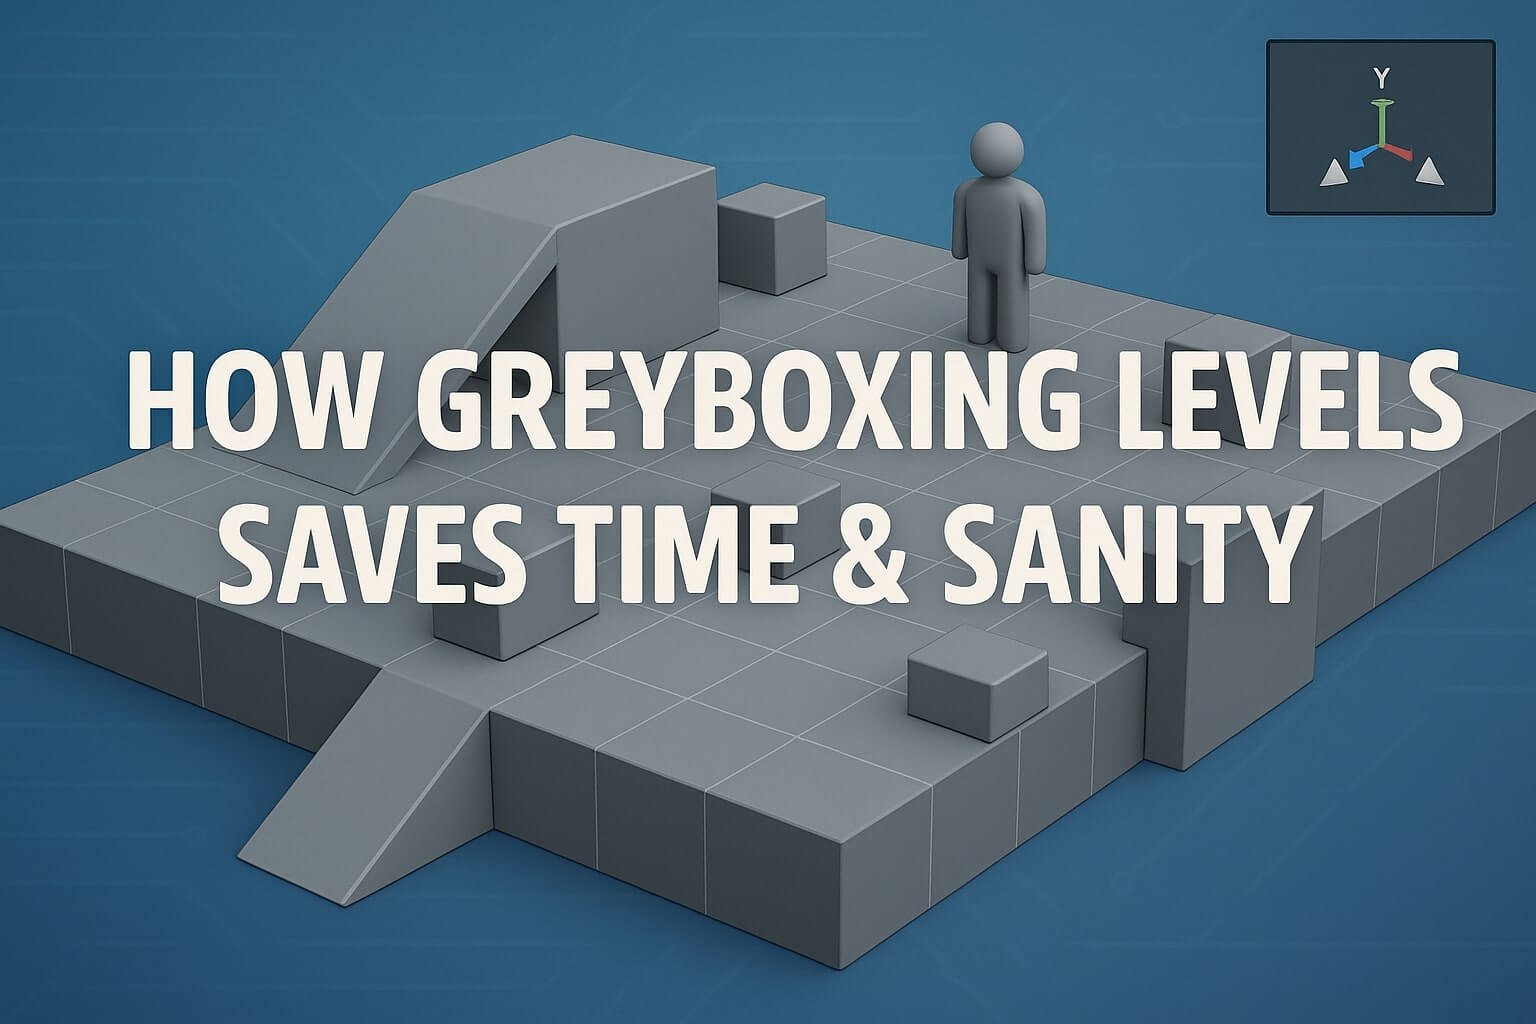
💡 Why AI is Transforming Character Design

Traditional character pipelines involve:

  • Sketching concept art
  • Modeling in Blender, Maya, or ZBrush
  • UV mapping, retopology, texturing, rigging, animating
  • Import/export headaches

This process takes days — or weeks. AI now reduces that to hours, or even minutes. Artists can focus on art direction and polish, while AI handles the generation grunt work.


🧠 Tools to Generate Characters from Prompts

1. Scenario.gg

Train a model with your game’s style, then prompt it: “Cyberpunk soldier with robotic arm and glowing tattoos.” Result? Stylized base art you can texture and animate.

2. Character Creator 4 + Headshot Plugin

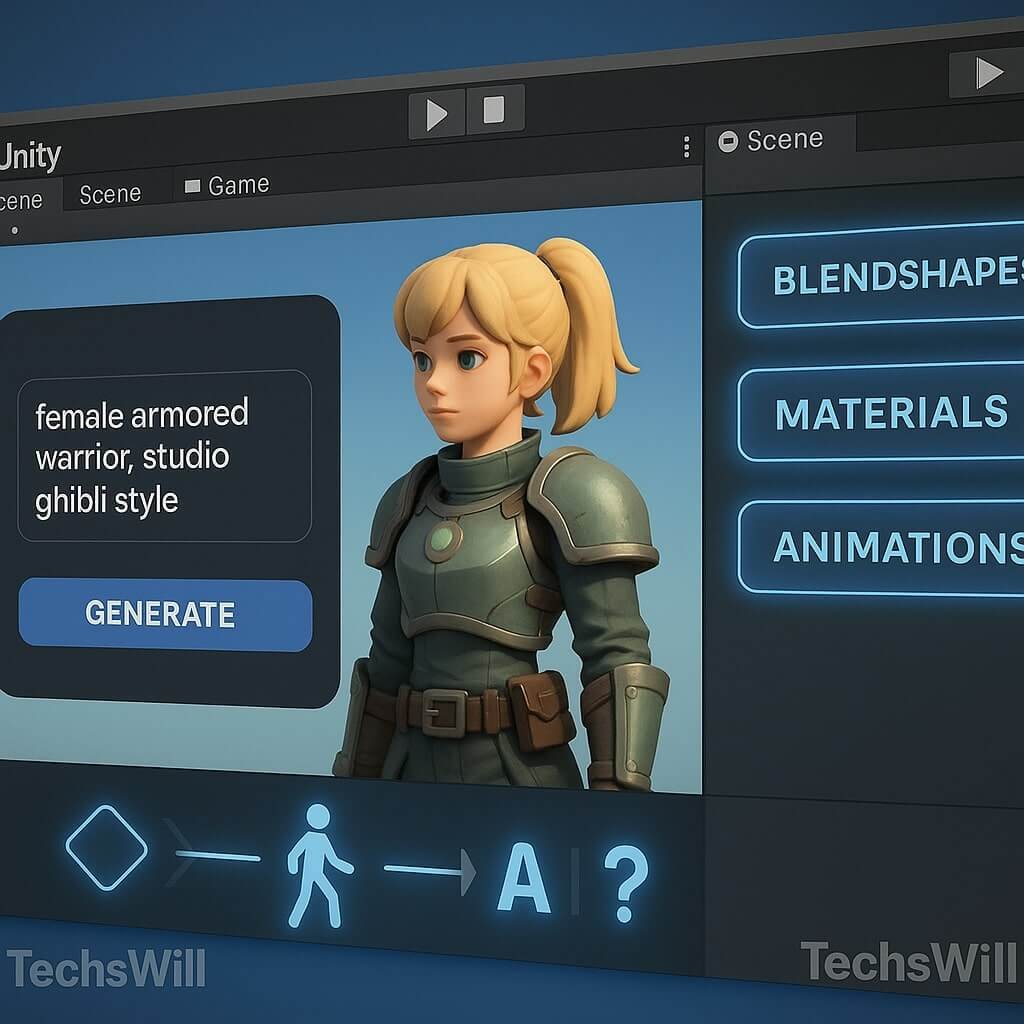
Use a single face image and descriptive prompts to generate full 3D human characters — with clean topology and Unity export built-in.

3. Inworld AI

Create NPC logic, behavior trees, memory states, and emotion layers. Combine with generated characters for AI-driven dialog systems.

4. Kythera AI

For enemies or companions, Kythera handles AI-driven movement, behavior modeling, and terrain interaction, ready for Unity and Unreal drop-in.


🎮 The Unity Workflow (Prompt → Playable)

Here’s a typical AI-to-engine flow in 2025:

  1. Prompt or upload to generate 2D or 3D base model (Scenario, Leonardo)
  2. Auto-rig using Mixamo or AccuRIG
  3. Use Blender to refine if needed (blendshapes, hair cards)
  4. Import into Unity with HDRP/Lit shader and animator controller
  5. Connect to AI/NPC logic (Inworld or Unity’s Behavior Designer)

With Unity 2023+, you can now load these characters into live levels and test directly with AI-powered conversations and gestures.


⚠️ Watch Outs

  • Topology: Many AI tools still generate messy meshes — use Blender or Maya for cleanup
  • Licensing: Double-check export rights from tools like Leonardo or Artbreeder
  • Rig integrity: AI rigs often need manual adjustments for full humanoid compatibility

🛠 Bonus: Realtime Dialogue with LLM NPCs

Combine AI characters with ChatGPT (via Unity plugin) or Inworld for dynamic dialog. Example: a vendor NPC that remembers what you last bought and changes pricing based on your behavior.


📬 Final Thoughts

In 2025, AI-powered character design isn’t just about speed — it’s about creativity. By letting machines generate variations, you can iterate faster, explore broader visual identities, and keep your focus on what makes characters memorable.

With the right workflow, one designer can now do the work of four — without sacrificing originality or gameplay quality.


📚 Suggested Posts

How Greyboxing Levels Saves Time & Sanity in 2025

Flat-shaded 3D game scene showing a greybox layout with placeholder platforms, ramps, and obstacles, all inside a grid-based editor in Unity or Unreal

In the fast-paced world of game development, great level design isn’t just about beautiful visuals — it’s about layout, flow, player feel, and pacing. And in 2025, more teams than ever are using greyboxing (or blockouts) as a foundational step in their design pipeline.

Whether you’re working in Unity, Unreal, Godot, or your own engine, greyboxing levels can save hundreds of hours — while uncovering gameplay issues before art assets ever hit the scene.


🔧 What is Greyboxing?

Greyboxing is the process of building a level using only simple, untextured 3D primitives — cubes, planes, cylinders — to define:

  • Basic layout and geometry
  • Player routes and movement space
  • Enemy and objective placement
  • Verticality, line-of-sight, and rhythm

It’s called “greyboxing” because these placeholder shapes are typically rendered in neutral grey — no lighting, no polish, just pure function.


🎯 Why Greyboxing Is a Must in 2025

1. Catch Gameplay Issues Early

You’ll know within minutes if a boss arena is too tight, or if a puzzle room feels confusing. No need to waste hours building a stunning castle — only to learn the layout frustrates players.

2. Enable Team Parallelization

While designers finalize blockouts, artists can begin modeling sets, and audio designers can map trigger zones — all in parallel using a shared structure.

3. Save on Rework

Modular greyboxes make iteration painless. Need to move a platform 2m to the right? Done. Try that with a baked-in, art-heavy level — and watch your production time balloon.


🛠 Recommended Greyboxing Tools

  • Unity: ProBuilder, Grid & Snap, Scene View Shortcuts
  • Unreal Engine: BSP Brushes, Level Designer Toolkit
  • Godot: GridMaps and CSG Shapes
  • Blender: For prefab planning and graybox exports

💡 Greyboxing Best Practices

  • Use player-sized prefabs (1.8m capsule, for example) to validate scale
  • Color-code elements (e.g., red = obstacle, green = collectible)
  • Playtest early and often with teammates and testers
  • Document traversal and puzzle flow for each blockout

📬 Final Word

You don’t need high-res art to know if your level feels good. Greyboxing helps developers iterate on feel, layout, and function before investing time into polish.

In 2025, greyboxing is no longer optional — it’s your level designer’s safety net, sanity check, and launchpad for better player experiences.


📚 Suggested Posts